| Previous | Next | |
|---|---|---|
| Mission 10 - Part 1 | Mission 10 - Part 2 | |
 : Well, well, look who showed up! I knew some of you would have the sense to hear me out.
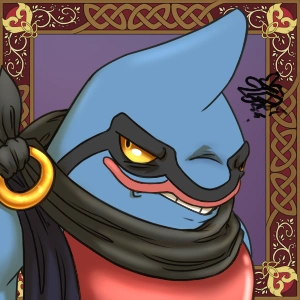
![]() : Well, you came all this way, I may as well get straight to point. We’re going to sail directly from Aether to Sazanami on a boat we borrow from the harbour.
: Well, you came all this way, I may as well get straight to point. We’re going to sail directly from Aether to Sazanami on a boat we borrow from the harbour.
 : ...what?
 : It ain’t stealing, it’s salvaging and, unless any of you have a spare ship on ya’, it’s what we gotta do.
 : Don’t worry, we can arrest him for thievery after all of this is said and done.
 : Uh… what are you doing here?
 : Oh, well, I have to get to Sazanami to help somehow and I could tell that neither Reilly or Yori would let me come with them, so here I am!
: ...
: Sure, whatever.
: Anyway, for all of you who want to see the route we’ll be taking, gather ‘round.

 : Uhhh, about this route-
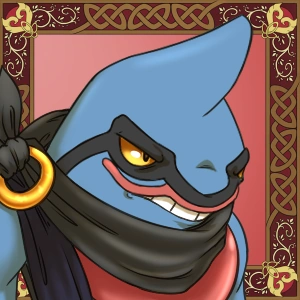
![]() : Yeah?
: Yeah?
: It has us sailing right through what is labeled “DEATH VORTEX” in all capital letters.
![]() : Yeah.
: Yeah.
: Is-is it supposed to be like that?
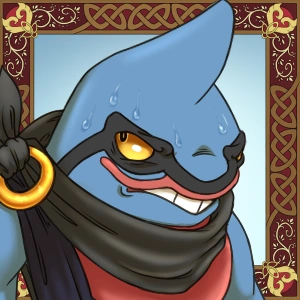
![]() : Yep.
: Yep.
 : Great…
: No need to look so glum, kid, I can get us through the vortex and all of the other dangerous stuff along the way.
: Oh, there’s MORE than just a Death Vortex, what, was that not enough danger?
: ‘Parently not, because there’s plenty of other currents, maelstroms, rocks, reefs, and storms to worry about.
: Joy…
: It’s a rough path, near impossible to navigate but I can get us through. Doesn’t mean it’ll be easy though, I’ll need everyone to have their wits about them for this whole journey because if someone isn’t cutting it well enough, we’ll all end up swallowed by the sea.
: That being said, I totally got this, trust me.
 : Aaah, okay…?
![]() : Excellent. Now, after we’ve traversed this fresh watery-hell, we’ll ditch the boat near these cliffs by the rice fields and meet up with some friends of mine. Hopefully without any of you ungainly adventurers catching the attention of roaming samurai that I’ve heard have taken up patrolling around the fields.
: Excellent. Now, after we’ve traversed this fresh watery-hell, we’ll ditch the boat near these cliffs by the rice fields and meet up with some friends of mine. Hopefully without any of you ungainly adventurers catching the attention of roaming samurai that I’ve heard have taken up patrolling around the fields.
 : “Friends” as in rogues like you?
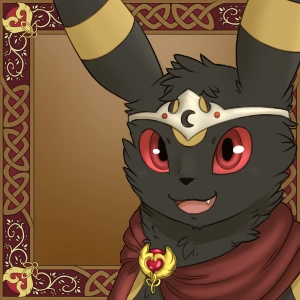
![]() : No, no, just farmers.
: No, no, just farmers.
: Farmers?
: Mmhmm, farmers. They’ll help disguise us and lead us to their farmstead, we’ll be safe there. Once we get there, I’ll tell you all how we’ll get to the meeting point so we can find your dad, kiddo.
 : Uhh, maybe let’s not let him know I’m there…
: Yeah, I’ll leave you to handle your daddy issues yourself.
: As for the rest you, if you feel like you can make through this trip, then follow me, we got a boat to borrow.
OBJECTIVE:[]
Join Bon in sailing through the more treacherous part of the Sazanami sea. The goal is to reach the rice markets at the tops of the cliffs safely and unnoticed!
Bon seems very confidant in his ability to safely navigate the perilous currents that plague the coasts south of Lugia’s shrine. Nevertheless, you won’t be safe once you reach the rice market and will need to leave soon. Hordes of samurai under employ from one of the country’s many warlords patrol the countryside, ready to apprehend any suspicious looking Pokemon they happen to come across. So be careful no matter what! One false move and you’ll be a warlord’s prisoners!
- Depict your character joining Bon.
- Your mission should end either at the cliffs OR at the rice market, do not depict your character going anywhere further as results of this part will determine whether or not this route was successful.
- These entries do not have to be detailed and just act as a placeholder for the route you’ve chosen.
- This means you can choose to show as much or as little as you want of the route in this first entry.
- After the due date this route may be potentially closed off, so make sure that if you choose this one that you get something in showing that!
| Previous | Next | |
|---|---|---|
| Mission 10 - Part 1 | Mission 10 - Part 2 | |